Why Is My Studio Flash Not Syncing With My Camera?

Time:2026-11-17 Author:Amelia
0%

A studio flash can fire perfectly during a test, yet leave your photograph dark. If you are asking, “why is my studio flash not syncing with the camera,” the cause may be a small mismatch between the camera, trigger, and flash. A loose hot-shoe connection, the wrong trigger channel, or a shutter speed above the camera’s sync limit can interrupt the signal. Sometimes the flash fires, but too late to light the frame.

Start with the visible details. Check that the trigger is seated firmly, its batteries are fresh, and its channel matches the receiver. Confirm that the flash is in the correct mode and that the camera uses a compatible shutter setting. A test button only proves that the flash can fire; it does not confirm that the camera is triggering it at the right moment. That distinction is easy to miss. I have seen photographers replace a working flash before checking one small setting.

This guide follows the signal from camera to trigger to flash, so you can narrow down the fault without changing everything at once. It also covers common clues, such as a black band across the image, inconsistent firing, or no flash response at all. Your exact menu names and sync limits depend on the camera and equipment, so check their manuals when settings differ. Start with the simplest checks. Then test one change at a time, and note what improves.
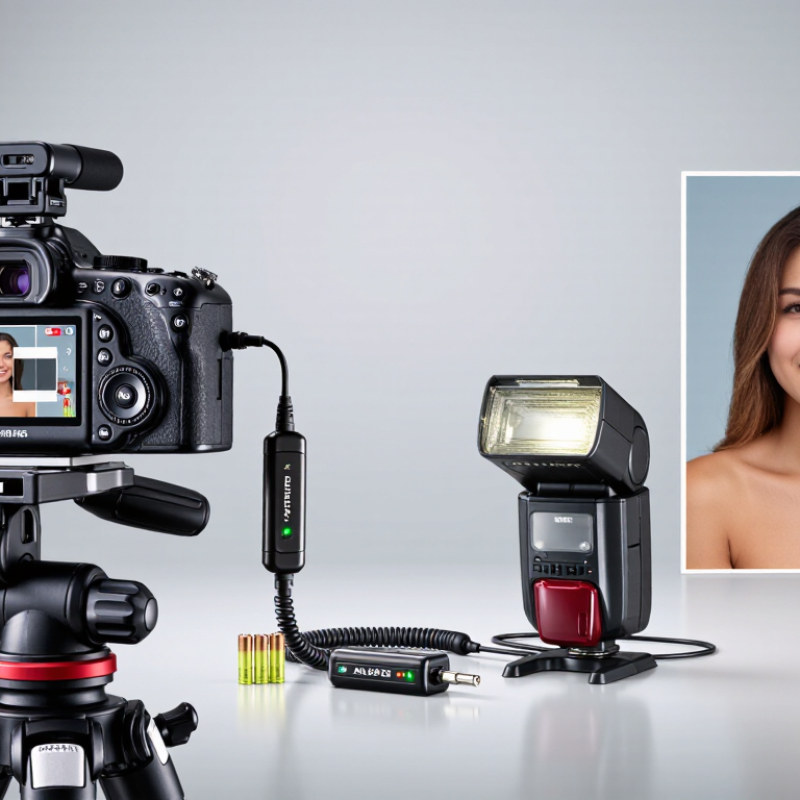
Why Is My Studio Flash Not Syncing With My Camera?

How Camera and Studio Flash Synchronization Works

A studio flash fires for a fraction of a second, but the camera must expose the entire sensor while the flash is bright. With a focal-plane shutter, two curtains move across the sensor. At or below the camera’s maximum X-sync speed, the first curtain clears the frame before the second begins to close. The flash then illuminates the whole image at once. Above that speed, a moving slit may expose only part of the sensor, creating a dark band.

Camera technical specification sheets commonly list standard X-sync speeds around 1/160 to 1/250 second; check your camera’s manual for its exact limit. Set the shutter at or below that value, then confirm the flash is in normal sync mode. A radio trigger or cable must also match the camera’s connection and timing. Small mismatch, big headache. A test frame helps: a black strip often points to shutter speed, while no flash suggests a trigger, connection, or power issue.

High-speed sync works differently. It makes a compatible flash pulse repeatedly as the shutter slit travels, which can reduce effective flash output. Studio units do not all support this mode, so faster shutter settings may simply fail to sync. Check the flash manual’s sync guidance and test at a safe distance from your background. I still find that one variable gets overlooked: some cameras offer a silent or electronic shutter that cannot trigger a conventional flash. Be willing to question the shutter setting, even when it looks right.

Identify the Type of Sync Failure

A sync failure has several distinct signatures. If the flash never fires, check its ready indicator, trigger connection, and camera flash settings. A full-frame exposure with no flash suggests a firing or communication problem. A dark band across the image points more strongly to timing: the shutter speed may be faster than the camera’s normal flash-sync limit. At 1/200 second, the exposure lasts about 5 milliseconds; at 1/250 second, about 4 milliseconds. That leaves little room for timing errors. A useful reference is ISO 518:2006, which standardizes accessory-shoe geometry and contacts, but does not guarantee that a wireless trigger will fire on time.

Intermittent results need a different check. If some frames flash and others do not, test with the trigger close to the receiver, fresh batteries, and a clear line of sight. Then lower the shutter speed and take several frames. If the problem disappears, timing or signal reliability is more likely than a failed flash tube. A narrow dark strip can also appear when high-speed sync is unavailable or disabled. Check whether an optical trigger is reacting to a metering pre-flash; it may fire too early. Small details matter. I’ve found that changing one setting at a time makes the fault easier to identify, though it can feel slower than swapping cables at random.

Check Camera, Flash, and Trigger Compatibility

A studio flash may fire without appearing in the photo if the camera, flash, and trigger use incompatible sync methods. Check the camera’s maximum flash-sync speed in its manual. Set the shutter speed at or below that limit; electronic shutter modes may restrict flash use further. Small detail, big difference.

A hot shoe can fit physically without making a reliable electrical connection. Confirm that the camera and trigger share compatible contacts, and that the flash accepts the trigger’s output through its shoe or sync socket. If using a radio trigger, check that its transmitter and receiver versions match. Set both to the same channel, and verify the receiver is connected securely. A test-button flash proves the flash works, but not that the camera is triggering it.

Compatibility can be easy to overlook. Try a simple setup: manual exposure, a moderate shutter speed, one flash, and a direct trigger connection. Take a frame and inspect it for a fully lit image, not just a flash pop. If the flash fires but the frame stays dark, lower the shutter speed and test again. Avoid guessing about older flash connections; check the flash’s trigger-voltage specifications before connecting it to a camera. I might overlook that part.

Set the Correct Shutter Speed and Sync Mode

A studio flash can fire at the wrong moment if your shutter speed exceeds the camera’s flash-sync limit. Check the camera manual for its X-sync speed; many cameras allow roughly 1/160 to 1/250 second. Start at 1/125 second if you are unsure. That small adjustment often removes the dark band across an image.

Use the camera’s standard flash-sync mode, usually called first-curtain or front-curtain sync. Avoid silent or fully electronic shutter modes unless your camera specifically supports flash with them. High-speed sync is not a universal fix: many studio flash systems do not support it, and compatible systems may lose considerable output. Keep it simple.

Take a test frame. If the flash fires but part of the picture is black, lower the shutter speed one step and try again. If the frame stays evenly lit, adjust exposure with the aperture or flash power instead. I have seen photographers change several settings at once, then lose track of what fixed the problem. Change one setting at a time. Check the trigger connection too, but get shutter speed and sync mode right first.

Test the Trigger Signal and Isolate Faulty Equipment

A flash that fires from its test button may still ignore the camera’s trigger. Start by checking whether the trigger sends a signal at all. Set the camera and flash to compatible modes, then press the trigger’s test button while watching the flash’s ready indicator. Keep it simple. If the flash fires, the trigger-to-flash link is probably working, and the camera connection needs closer attention.

Mount the trigger securely in the camera’s hot shoe, or connect it with a suitable sync cable. Take a test frame at a shutter speed within the camera’s normal flash-sync range. If the flash fires manually but not from the camera, clean the contacts with a dry cloth and reseat the trigger. Check the camera’s flash settings, too. Silent or electronic shutter modes can prevent some systems from sending a usable signal. I may be overlooking a less common compatibility issue, so check both manuals before assuming a part has failed.

Isolate one item at a time. Try a known-working trigger with the same flash, then test the original trigger with another compatible flash. Swap only one cable or receiver at a time, and label each test. A failed result that follows one component points toward the fault. Never open a flash unit; internal components can retain dangerous voltage. Sometimes the cause is just a loose shoe connection, which is easy to miss.

FAQS

Why does a dark band appear across my photo?

Your shutter may be faster than the camera’s flash-sync limit. Try 1/125 second, then check the frame again.

The flash fires, but the photo stays dark. What should I check?

Check that the camera, flash, and trigger use compatible sync connections. A test-button flash only confirms the flash itself works.

Why does the flash work in some frames but not others?

Move the trigger closer, replace its batteries, and clear the path between transmitter and receiver. Then take several frames at a slower shutter speed.

Can silent or electronic shutter mode prevent flash sync?

Yes. These modes may restrict flash use. Switch to the standard mechanical shutter mode if your camera supports it.

Which sync mode should I use?

Try first-curtain, also called front-curtain, sync. High-speed sync may be unavailable or reduce flash output.

Why might an optical trigger fire too early?

It may react to a metering pre-flash instead of the main flash. Check the trigger settings; this detail is easy to miss.

How can I test a setup without changing too many things?

Use manual exposure, one flash, and a direct trigger connection. Change one setting at a time. Slower, but clearer.

Is a hot shoe that fits always a reliable connection?

No. Check contact compatibility and secure the receiver. For older flash connections, check trigger-voltage specifications before connecting them.

Conclusion

When asking “why is my studio flash not syncing with the camera,” start by understanding how the camera’s shutter, flash, and trigger coordinate. A synchronization problem may appear as a completely dark frame, a partial band of light, or inconsistent exposure. The pattern can help distinguish a missed trigger signal from a shutter speed or mode setting that prevents the flash from firing at the right moment.

Check that the camera, flash, and trigger use compatible connections and settings, then select a shutter speed within the camera’s normal flash-sync limit and choose the appropriate sync mode. Test the trigger signal and simplify the setup by checking each connection and device one at a time. This methodical process helps isolate faulty equipment, incorrect settings, or a compatibility issue without replacing working components unnecessarily.

Amelia

Amelia

Amelia is a seasoned marketing professional with a wealth of expertise in our company’s core offerings. With an unwavering passion for driving growth and innovation, she plays a pivotal role in shaping our marketing strategies and enhancing brand visibility. A key aspect of her responsibilities......