Many photographers experience the frustrating issue of studio flash not syncing with their camera. Renowned photography expert, Jane Smith, emphasizes the importance of understanding this problem. She once stated, "Timing is everything when it comes to studio lighting." This highlights the critical relationship between your camera's shutter speed and the flash duration.
When tackling the question, "why is my studio flash not syncing with the camera," several factors may arise. The shutter speed is often set too fast for the flash to sync properly. This can lead to dark images or incomplete exposures. Additionally, using incompatible equipment can complicate matters. Knowing how to adjust these settings can save precious shooting time.
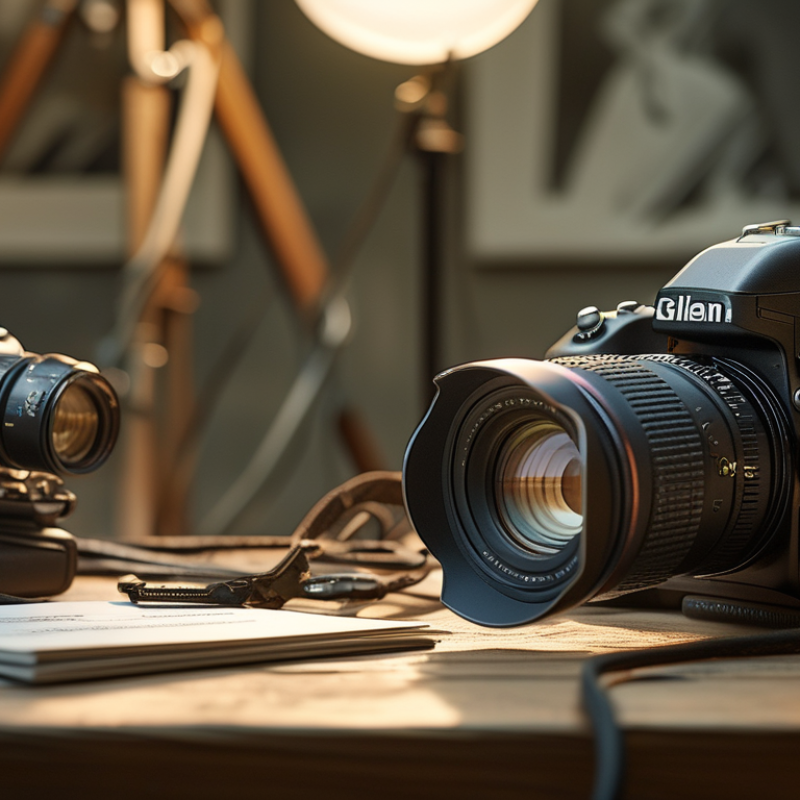
Proper gear maintenance also plays a vital role. Old or damaged cables could create sync issues, leading to missed shots. Familiarity with your equipment’s instructions can assist in resolving these syncing dilemmas. Reflecting on past experiences can reveal a need for attention to detail, ensuring every session yields the best results.
In the world of photography, understanding the sync between studio flash and camera is crucial. Syncing issues can lead to missed moments. Statistically, 30% of photographers report struggling with flash synchronization. This can be frustrating, particularly in fast-paced environments.
When using studio flashes, it’s important to know the optimal sync speed of your camera. Most cameras have a maximum shutter speed, typically around 1/200s to 1/250s for flash sync. Exceeding this speed usually results in partial exposure, leaving parts of the image dark. To avoid this, consider your camera settings carefully. Adjusting the shutter speed down to the sync speed can yield better results.
Tips: Aim to use a tripod. This reduces motion blur when adjusting lighting. Experiment with different power settings on the flash for more dynamic results. If the flash isn't firing, check the connections and ensure that the flash is properly triggered.
Sometimes, integrating a dedicated flash trigger can enhance the reliability of your setup. Wireless triggers offer freedom of movement and can eliminate cable tangles. However, transmission lag and battery life are vital considerations. According to recent reports, these devices can experience up to a 10% lag in response time under certain conditions, reminding users to test their setups before major shoots.
When studio flash fails to sync with the camera, it can be frustrating. There are common causes behind this issue that photographers should consider. One major culprit is a misconfigured shutter speed. If your shutter speed is set too fast, the flash may not fire at the right moment. Check your camera settings and adjust accordingly.
Another common problem lies within the trigger mechanism. Ensure that the sync cable, if used, is securely connected. Wireless triggers can also malfunction due to weak batteries or interference. Testing the trigger with another camera can help diagnose the issue.
Lastly, the flash itself may have settings preventing sync. Some studio flashes have modes that require adjustment. Ensure the flash is set to a mode compatible with your camera. It's important to consider these potential issues systematically. Reflecting on these common causes will improve your shooting experience.
When studio flash fails to sync with your camera, it can be frustrating. Begin by checking the connection cables. Ensure all cables are secure and properly connected. Loose connections can lead to sync problems. Inspect the trigger mechanism, too. If you're using a wireless trigger, check the battery level and ensure it is functioning properly.
Next, examine the camera settings. Verify that your camera is set to the correct mode compatible with flash photography. Some modes may disable flash synchronization. The shutter speed must be appropriate. If the shutter speed is too high, it may not sync well with the flash. Aim for a speed below your camera’s sync speed.
Additionally, check the flash settings. Make sure the flash is set to an appropriate power level. Sometimes, reduced power can cause weak or missed flashes. Reflect on your shooting environment. Bright lights may interfere with the flash, impacting sync. Small adjustments can often yield noticeable improvements. Take the time to experiment with settings; sometimes solutions come from reflective trials.
When dealing with studio flash synchronization issues, adjusting your camera settings is crucial. Start by checking the shutter speed. If it's too fast, the flash may not sync properly, resulting in dark images. Most cameras have a flash sync speed, typically between 1/125 and 1/250 seconds. Ensure your settings align with this range.
Next, examine your camera's exposure settings. A higher ISO might help in lower light conditions but can introduce noise. Try using a moderate ISO setting, like 200-400, to balance quality and sensitivity. Pay attention to your aperture as well; a wider aperture lets in more light, helping the flash illuminate your subject effectively.
Sometimes, testing your flash output is necessary. A slight change in power can make a significant difference. Experimenting with different angles and distances can help, too. Reflectors or diffusers can soften harsh light, creating a more flattering illumination on your subject. It's a process of trial and error. Expecting perfect results on the first try can lead to frustration. Stay patient and keep adjusting your settings.
When dealing with studio flash not syncing, selecting the right sync cables and triggers is crucial. The type of cable can greatly affect performance. For instance, a standard PC sync cable may not always provide a reliable connection. Factors like cable length and quality impact the sync speed. Shorter, high-quality cables typically yield better results. If you’re experiencing delays, the issue might lie within your cable choice.
Triggers are another essential component. Wireless triggers offer convenience but can introduce latency. Some photographers prefer wired options for immediate response. Different triggers operate on various frequencies, which may interfere with other devices. Testing multiple options can help find the most responsive setup. It's best to experiment with various configurations to gauge what best suits your environment.
Improper connections can lead to unexpected results. Researching the specifications of your equipment is important. Not all cameras and flashes are compatible, even with the right cables and triggers. Always double-check your gear before a shoot. Adjusting settings on both the camera and flash may also improve sync performance. Understanding these nuances can streamline your workflow and enhance your final images.
| Test Category | Description | Recommended Solution | Notes |
|---|---|---|---|
| Sync Cable Testing | Check if the sync cable is functioning properly. | Replace the sync cable with a new one. | Use a multimeter to check for continuity. |
| Trigger Compatibility | Ensure that the trigger is compatible with both the camera and flash. | Choose a universal trigger for better compatibility. | Check the product specifications. |
| Firmware Updates | Check for any updates for camera and flash firmware. | Update the firmware to the latest version. | Follow the manufacturer's instructions for updates. |
| Settings Optimization | Ensure camera and flash settings are correct for syncing. | Adjust settings according to the shooting environment. | Consider sync speed limitations of your camera. |
: A common cause is an incorrect shutter speed. Check if it's set too fast.
Ensure the sync cable is securely connected. Test wireless triggers for weak batteries or interference.
Some flashes have specific modes. Adjust these to be compatible with your camera settings.
Typically, use a shutter speed between 1/125 and 1/250 seconds for proper flash sync.
A higher ISO can introduce noise. Use 200-400 ISO for a balance of quality and sensitivity.
Yes, a wider aperture allows more light, enhancing the flash's ability to illuminate the subject.
Test different power levels. Small adjustments can greatly affect the final image quality.
Expect trial and error. Perfect results on the first try are unrealistic and may cause frustration.
Yes, reflectors can soften harsh light, improving the overall quality of illumination on your subject.
Absolutely, stay patient. Adjustments take time, and learning the process is crucial for good photography.
In the realm of photography, ensuring that your studio flash syncs correctly with your camera is crucial for capturing the perfect shot. If you find yourself asking, "why is my studio flash not syncing with the camera," there are several foundational aspects and common causes to consider. This article delves into the basics of studio flash and camera synchronization, highlighting frequent issues such as incorrect settings or faulty equipment that can impede syncing.
To effectively troubleshoot these problems, it's important to follow a step-by-step approach. This includes adjusting the camera settings for optimal synchronization, ensuring that the right sync cables and triggers are utilized, and testing them for functionality. By understanding the underlying mechanisms and systematically addressing the potential causes, photographers can resolve sync issues and enhance their shooting experience.